Your in for a treat today...
I wanted to take a little break while were piecing our quilts together..
to introduce you to one of my favourite friends...
Saffron is sharing with us her English Paper piecing technique, another quilting technique you can try.
She also has a copy of the template for you to download...
AND
She is offering us.. (Chasing Cottons readers) a
20% Discount code to use in her
shop Amazing HEY!!!
Saffron is so so talented. She is an Australian fabric designer based on Sydney's Northern Beaches. Her new contemporary fabric designs are inspired by the Australia she loves. It's the spirited, natural surroundings that come through in her dreamy fabrics. She runs an online shop and wholesales nationally and internationally and her blog is full of great products and projects... I am delighted she has stopped by to share her paper pieced owl with us.. xxx Thank you Saffron xxx
The first quilting technique my mother in law taught me was the
English Paper piecing technique. When I heard of Bec's generous offer to teach you all to sew I thought I should share this technique with you.
English paper piecing is often used in the making of hexagon, diamond, baby-block, and star patterns. Each piece in the quilt is pinned to its own paper pattern piece. The paper serves as a guide for sewing and as a support for the pieces. I often use shapes I have drawn in my sketch book to create large applique blocks, I like to use this technique particularly for circles, leaves and so on. I really enjoy using this quilting technique, often for appliqueing designs onto quilt blocks. I like the lovely turned seams it creates.
First, I
trace the design with freeze paper or photo copy paper. Freeze paper is a bit easier as you can iron it onto your fabric and you will not need pins. You can
download your copy of the Template
HERE..
2.
Cut out the traced freeze paper shapes and
iron to the fabric, or pin if using paper, making sure if you are using printed fabrics to be fussy where you cut.
3. Leave a
generous seam allowance, usually 1cm, and cut out the shape.
4 . Use a
gathering stitch around the circular paper shapes to gradually pull in the fabric to make a circle.
5. Iron.
6. Now pull the
paper out from the shape you have sewn, being careful not to loose your lovely shape. You may need to press again.
7. For more detailed shapes you might need to stitch through the paper as I have done with the Owl. Use a large tacking stitch in a thread that is easily seen so it can be removed.
8. Position your shapes
Then, very neatly stitch the shapes in place. I often use silk thread as it is very strong, fine and nearly invisible.
9. For the shapes that have been stitched through the paper (owl and branch) you
remove the paper once they have been positioned and sewn. Do this by pulling the tacking thread out, cutting a hole in the back of the fabric and gently pick the paper out.
Then Iron.
10. Sew the other layering pieces on. Eyes, wings, beak and the leaves.
Press your Owl....and Your Done!
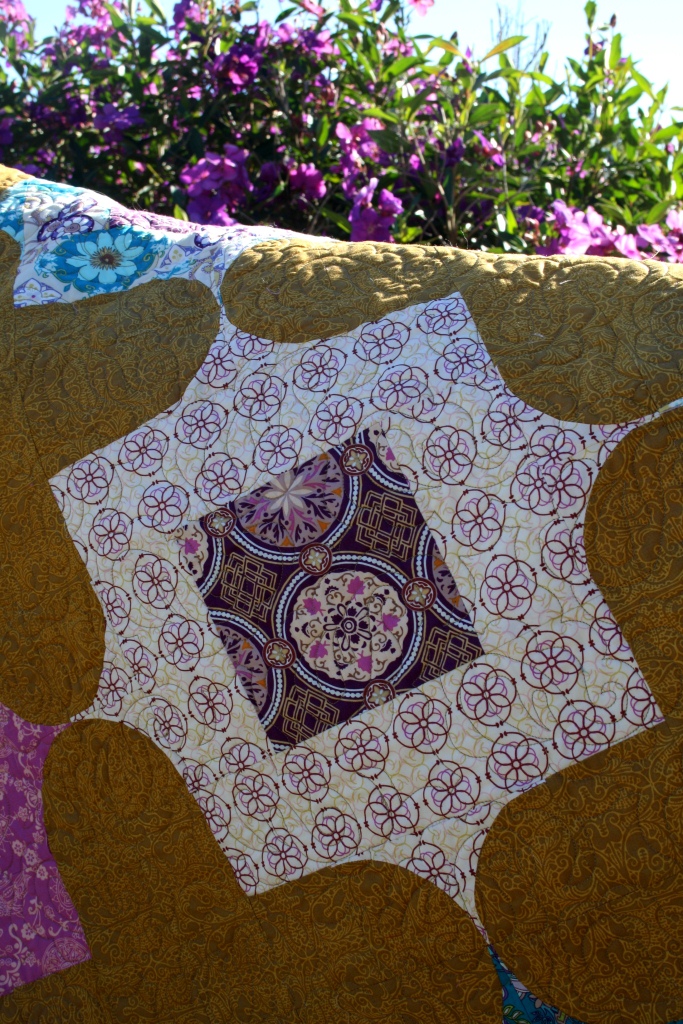
I have made many quilts using this technique.
This Owl pattern is available as a free PDF from my website
HERE
Thank you Saffron!! Your owl is gorgeous!...
Pop on over to Saffron's shop... She is offering us a 20% discount code.. Simply put the code cc2011
at checkout, and 20% will be deducted from your order!
Happy Shopping xx