OK.. are you ready?First Step, is to find out
how much fabric do you need?... Get out your calculators...
Do this by adding 2 x width and 2 x length. So, My Quilt Top measures
2 x 50" + 2 x 58" = 216"
then divide 216 by 44" (width of fabric) = 4.9
So, you need 4.9 or 5 Strips to get you all the way around. I always add an extra just in case... So 6 Strips.
Your strips need to be 2.5" wide, so you need 6 x 2.5" = 15" of fabric
Still following?? You can work it out quickly in your head once you get the hang of it.
Cut your 6 strips, 2.5" wide.
With a 1/4" seam allowance, join them them all
end to end, so you have one long continuous strip. You can do a diagonal seam to reduce bulk, but i don't usually.
Press seams open.
Next, with
wrong sides together, press your strip in
half length ways...
I always
start at the bottom of my quilt. Lay your binding strip on with the
raw edge of your binding along the raw edge of your quilt top.
Leave around
6 inches and place a pin to hold in place.
Start in front of the pin you just put in,With a
1/4" seam allowance and your walking foot,
sew down a few stitches and
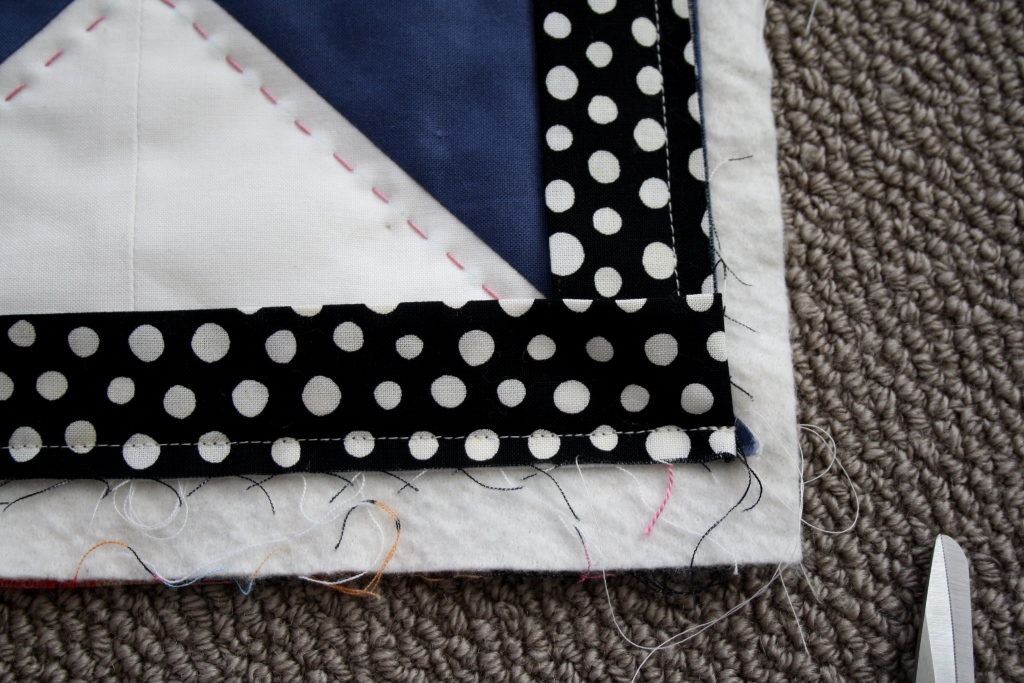
reverse to secure. Continue sewing along, 1/4" in from the edge, until you reach your first corner.
When you are
1/4" away from your first bottom edge ( or next side ), put your
needle down. Lift your presser foot .
Swivel your Quilt and instead of continuing to sew down the next side.. you are going to
sew backwards off your quilt top
Secure with a few reverse stitches. Pull your top out of your machine and cut your threads.
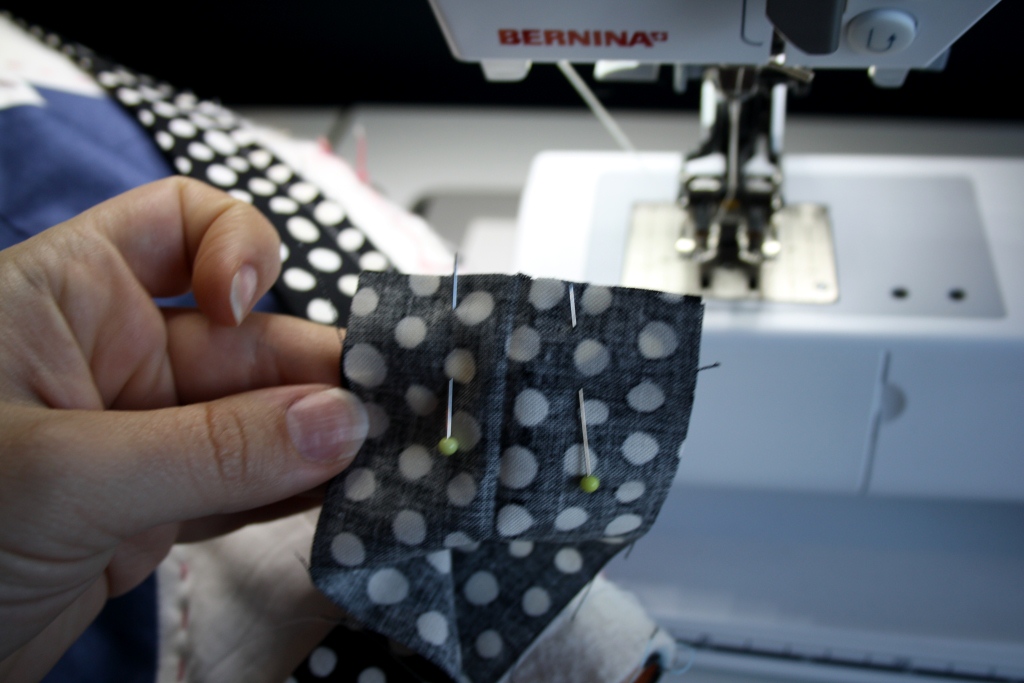
Take your binding strip and
fold it up 45 degrees... See below.
Then fold it
back down on itself. This will give you a
neat mitre corner.
Now,
Continue to sew down this next side. Remember to do a couple reverse stitches again in the begging to secure.
Sew all
around your quilt, mitring your corners as you come to them. When you get
close to where you started...
Stop about 8-10 inches away and
Reverse to secure.
Take your quilt top out of your machine and
lay on a flat surface. Take your ruler and
measure the distance between your two spots.
Another formula for you..
Mine was 8 inches, So,
8 inches + .5 inch(seam allowance) = 8.5"
Divide by 2 = 4.25 inches.
Next,
Measure and cut each binding end... Mine needed to be cut 4.25 inches long. You will cut yours differently depending on your measurements.
With
right sides together,
pin to hold.
With
1/4" seam allowance sew these two binding ends together.
Fold out and lay flat and
sew this down onto your quilt... You have now finished the machine sewing part. Almost done!
Take your scissors
Cut off the extra batting all around the edge of your quilt. Take care cutting around your corners.. you don't want to cut a hole in your binding.
Iron your binding out flat
Fold your binding
back over to the back of your quilt.
I always fold mine
just over the sewing line so you cant see it.
With a
slip stitch...
Sew in place.
When you get to the
corners, the side you were sewing goes under first and the next side folds neatly over top...
Continue all around your edge and
your done!!!! A BIG CONGRATS to you!!!!
and
Congrats to all of you who read ALL the way down to the bottom of this post!!!
If you have a binding tutorial you would like to link up... you can link up below...