


I hope you all had a wonderful Mother's Day.
I got spoiled with brekky in bed, hand picked pressies from the kids, and fabric gift vouchers from my hubby. And even though Mother's Day has become bitter sweet, I had a lovely day spending time with those I love.
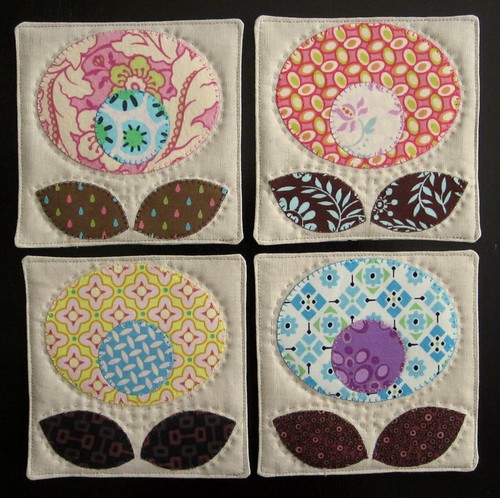
Another thing I Love about Mother's day is handmade cards and gifts... When Jess from Twin Fibers sent me through her Raw Edge Applique tutorial for today.. I was so disappointed I didnt get it to make some a week ago!! They are just so gorgeous!! Thank You Jess! xx
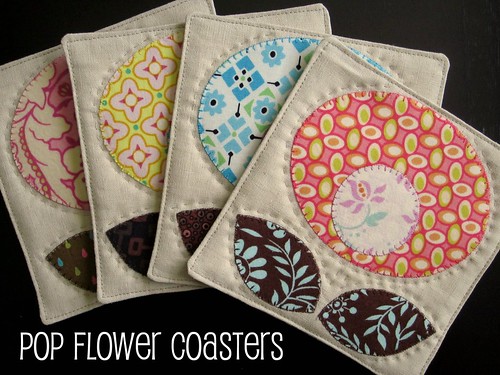
Would you like to make these cute coasters with me?
Today I'm going to show you how! These are a great little project for introducing you to raw edge applique.
Let's get started:
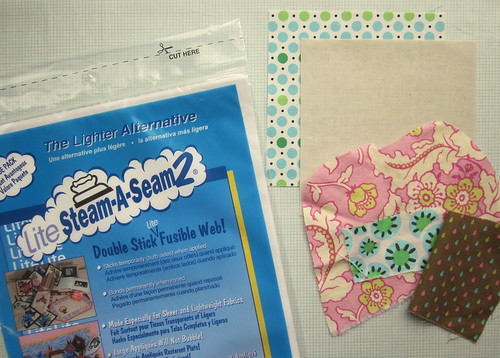
First you're going to need some supplies.
For each coaster you will need:
some fabric scraps for the flower and leaves
a 5.5" square each of a solid fabric for the front and a backing fabric
a 5" square of batting (not pictured)
and a double sided fusible web product (I'm using Lite Steam-a-Seam). There are several fusible webbing products on the market, just make sure to read the directions on the package if you are using something different.
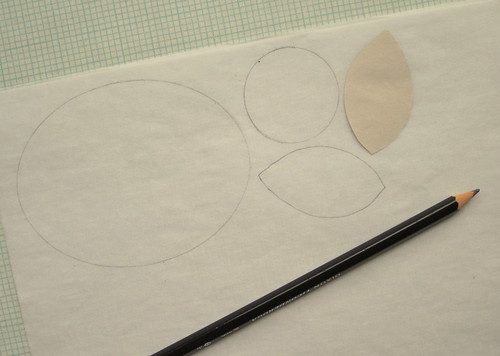
You'll also need to print off the templates below or draw your own.

For each coaster you will need:
some fabric scraps for the flower and leaves
a 5.5" square each of a solid fabric for the front and a backing fabric
a 5" square of batting (not pictured)
and a double sided fusible web product (I'm using Lite Steam-a-Seam). There are several fusible webbing products on the market, just make sure to read the directions on the package if you are using something different.
You'll also need to print off the templates below or draw your own.

1. Trace your pattern pieces onto a sheet of the Steam-a-Seam. Trace onto the paper that seems more stuck to the fusible web. (One side of the paper on the webbing wants to come off easily and the other side is stuck on more.) Also, make sure you are tracing the reverse image of what you want cut out (not important with this project, but it is if you want to cut out letters from the alphabet).
Roughly cut your shapes out.
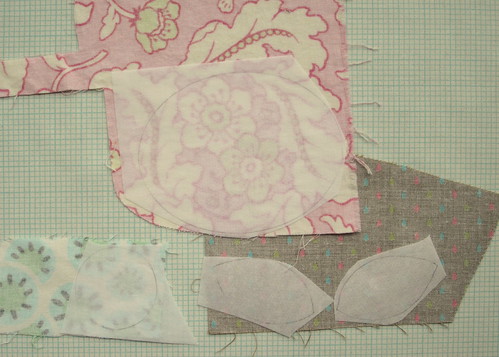
2. Remove the paper from the Steam-a-Seam that you don't have your shape drawn on. Press your shape onto the backside of your fabric scraps.
Cut your shapes out along the pattern lines.
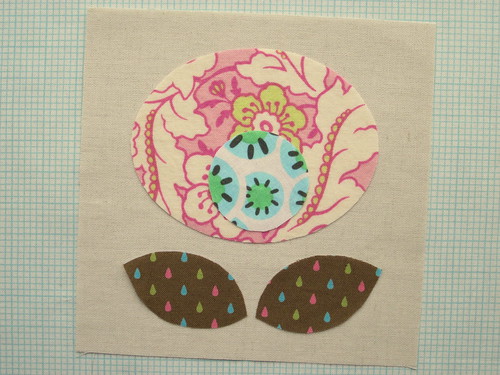
3. Place your pattern pieces onto your 5.5" square of fabric for the front. When you like your arrangement, peel of the piece of paper on the backing and stick it to the base fabric. Then you can iron the shapes down.
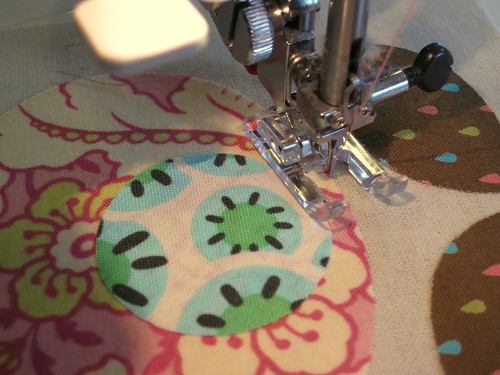
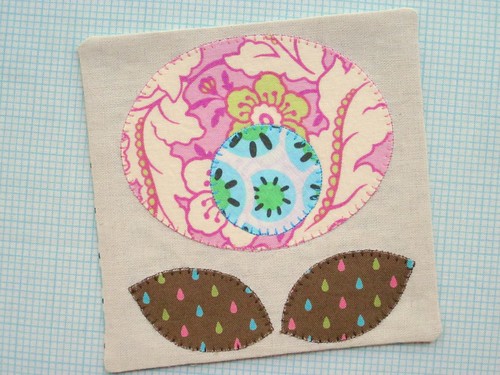
4. Now, you're going to start stitching around each of your shapes. I like to use a decorative stitch that's programmed into my machine, but you can use a small zig-zag too.
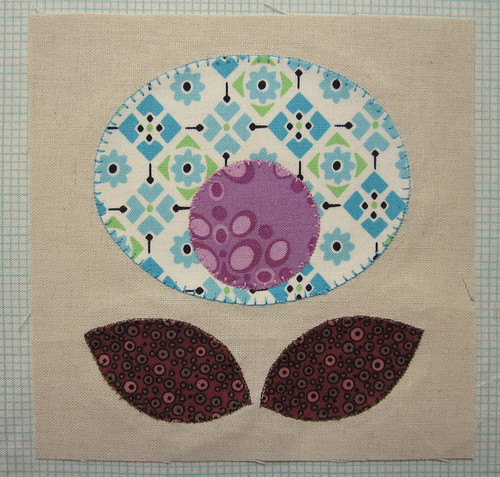
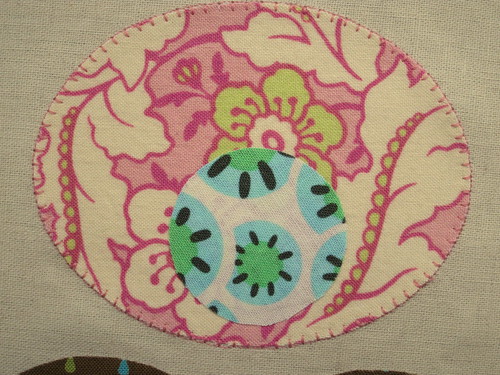
5. Here you can see where I've stitched around all the shapes with a coordinating thread color.
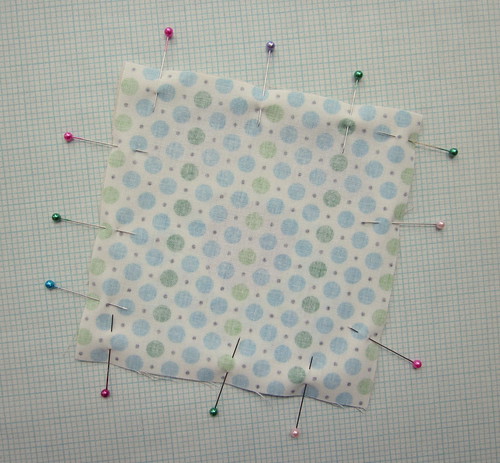
6. We're done with the applique part and now we're going to finish making the coaster. Take your backing fabric and place it right sides together with the appliqued front.
7. Stitch around the square leaving an opening on one side. Clip the corners as shown.

8. Cut a piece of batting a bit smaller that your stitching lines. I found it really helpful to spray baste this piece of batting onto the back side of the backing fabric before you turn it right side out.
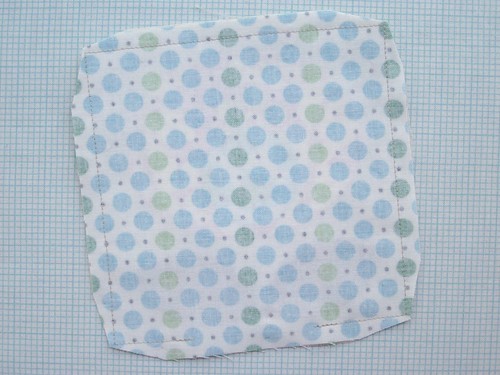
9. Turn your coaster right side out and press.
10. Stitch around the outer edge, closing the opening for turning.
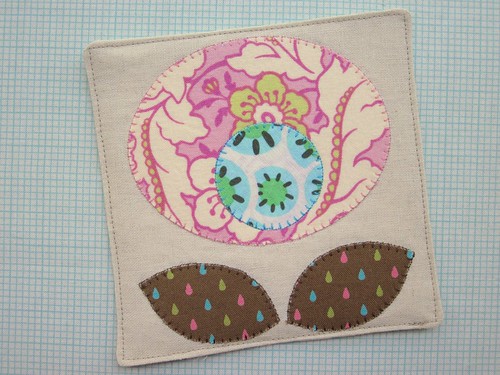
11. Add some hand quilting around the flowers and leaves to hold everything in place.
I hope you've enjoyed seeing this project and give it a try sometime!
This type of raw edge applique can be so much fun and can be done with almost any shape. These flower shapes came from a wall hanging that I made for a swap. I really loved the screen that I saw here and translated that into a wall hanging and now into these coasters.
Thanks so much to Rebecca for letting me share these with you today!
Happy Sewing!
~Jessica
Great tutorial. Thank you for taking the time to do this.
ReplyDeleteSuper cute idea. Can't wait to try it out!
ReplyDeleteThese are adorable!! My list of things to make is growing like crazy!! =D
ReplyDeleteGreat tutorial!
ReplyDeleteHappy Mother's day to you... I thought of you today.
Jennifer :)
These are sew cute! Can't wait to try it out.
ReplyDeleteLove those flowers--so cute!!
ReplyDeleteEnjoyed this very much, thanks.
ReplyDeleteHappy belated Mother's Day! Thank you for the tutorial, these are stinkin' cute!!! :-)
ReplyDeleteI love this type of applique. So easy and the results look fantastic!
ReplyDeleteThese coasters are really really cute!
ReplyDeleteThanks so much for the tutorial ~ really cute flower coasters!
ReplyDeletethis looks super fun! Can't wait to get the time to try it out.
ReplyDeletelovely! what a fun little project. :)
ReplyDeleteThese are sooooooooo cute! I love it. I think I saw a quilt made similar to this on flickr probably made by her also. Very nice!
ReplyDeleteThese really are gorgeous, love your blog too, have a nice day :)
ReplyDeleteWhat great last minute teacher gifts! Thanks for the tutorial.
ReplyDeleteGreat gift ideas. Thanks for the tute.
ReplyDeleteI just made one - thanks for sharing!
ReplyDeleteThanks so much for this tutorial & pattern! My sis has been wanting something like this. May have to make up some for Christmas!
ReplyDeletexoxo
Joy
Love these coasters! Where can I print the patterns?
ReplyDeleteThanks
Pat
These are so cute! I don't sew, but it makes me wish I did. With your tutorial, even I could do this. Maybe someday...
ReplyDeleteI just love these little coasters, so simple and yet so lovely.
ReplyDeleteBetty
Thanks so much for the pattern.
ReplyDeleteI want to make them for gifts.
I like the valuable info you provide in your articles. I will bookmark
ReplyDeleteyour weblog and check again here frequently. I'm quite sure I will learn many new stuff right here! Best of luck for the next!
Here is my web-site : yourtobaccosstore.com