Have you nearly finished???
I hope it has all been smooth sailing up until this point... If you have struggled over some point during the class, don't be disheartened! I still learn something new (and something I shouldn't do ) each quilt I make, and we all know over time with a little practise our quilts get better and better...
If you have
followed along with the class and
made a quilt I would love to see it...
Next Wednesday 27th will be the Big Reveal!!
If you could
email me through
a picture of your finished quilt, or maybe your project where you tried something new from what you learnt... I would love to see them and share them here in the main post... AND if you have a blog, email me your details and I can link them up to you... I will also have a Linky at the bottom so you can link up more pictures of your finished Projects!
I hope you have enjoyed the class over these last weeks/months. It has been alot of fun sharing what I know with each of you.. and I have loved the emails back and forth asking for HELP!!. For those of you wondering...
over the next few months and next post I will share more info and how YOU can be apart of the next segment!!!
Now, To add the finishing touch to our Quilt....
1. Mini Quilt Label , 2. dqs10 label received from Where The Orchids Grow, 3. Spoonflower Quilt Labels, 4. Tula Can Quilt label, 5. PQS4 Back of the Label for my partner, jgmehlin, 6. Wave quilt - label, 7. Quilt label, 8. DQS9 Label Done for ?, 9. Wesley's quilt: label, 10. Beehive quilt - label, 11. Geo Go Go Tag, 12. Behind the Quilt
We all need to add a label....
Hello all! Thanks Rebecca for letting me sing the "Label your work" gospel here at
Quilting 101 headquarters.
How many times have you read blog posts about incredible antique quilts that end with "if only I could remember who made this...it might have been my grandmother, or possibly her sister, actually now that I think of it, my husband's sister's mother-in-law's great aunt also quilted, so maybe it came from her?" We make quilts because we love them. We share quilts with our family and friends because we love them more. So why not provide your signature and a date so that they can sing your praises and honor your work for years to come?
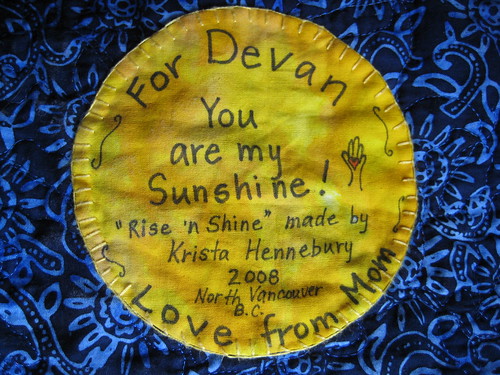
On a quilt for my daughter
Professional quilt appraisers recommend attaching a label to the bottom left corner of your quilt backing PRIOR to quilting your quilt. That way, the label is 'built right in' with quilting stitches and less likely to come loose with washing. It also guards against quilt theft or loss, which is unexpected, but sadly can happen to quilts sent internationally for shows and competitions, or for gifts. NOTE: Another advantage of attaching your label at this point is that you can sew it onto your quilt back by machine!
Hand written label, machine appliqued prior to sandwiching/quilting.
Labels can be super basic. A piece of muslin written on with a permanent fine tip marker (my preferred is a black Identi-pen, which is double ended with a fine and medium tip). You can also achieve lovely writing on fabric with a Micron pen, which come in myriad colours for added fun.
A simple, hand-written muslin label
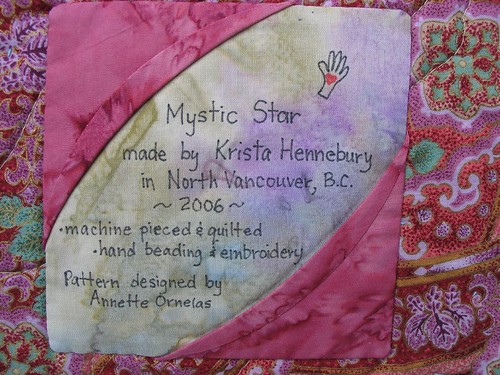
Labels can be more intricate, too. Try mimicking a design element from the front of your quilt, like I did (below) using folded bias edges for the back of my Mystic Star quilt.
This label mimics design elements on the quilt front and credits the pattern designer.
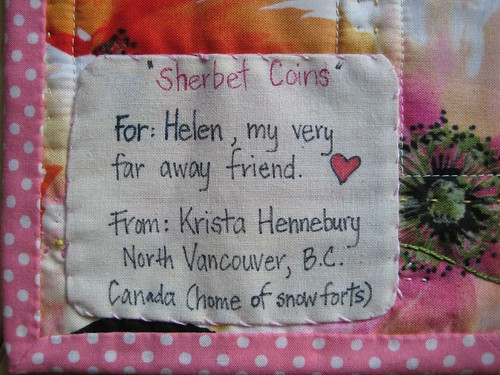
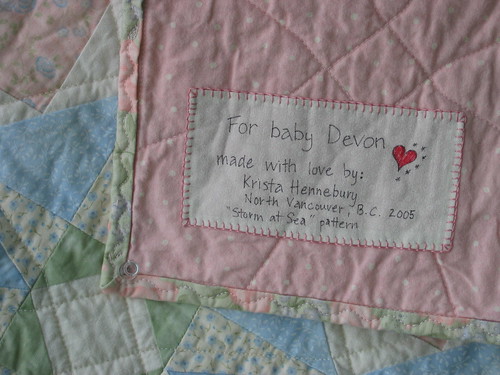
You can print photos and text onto treated fabric through your home printer. You can also embroider the details and secure the edges of your label with a lovely hand blanket stitch, (as below).
This quilt was a baby gift for a friend's daughter.
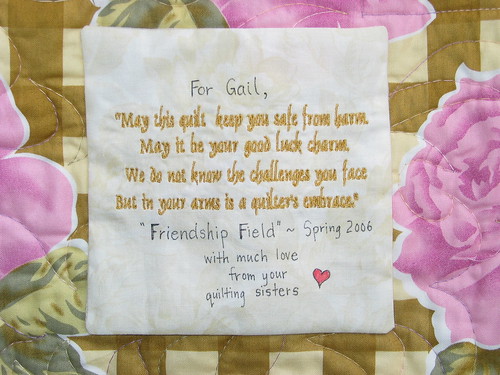
How about busting out those machine alphabet stitches (like I did for the first time on this project)?
Labels should include the quilt maker's name and the date the quilt was completed at a minimum. Other pieces of information to consider include: your hometown, the recipient's name, the quilt's name (if it has one), the occasion or event commemorated by the quilt, a meaningful quote or passage, a list of contributor's names if it is a group project, a credit to the pattern designer, or anything else that is relevant to you, the quilt maker!
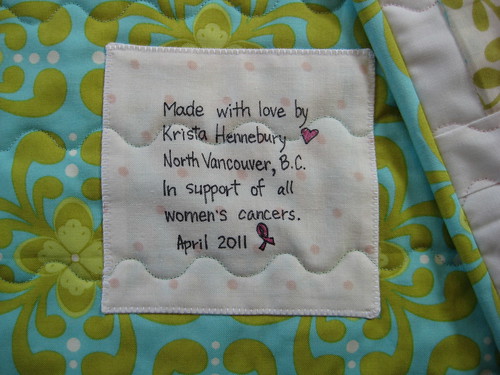
A label on a cancer comfort quilt made by quilters who had each signed their block on the front.
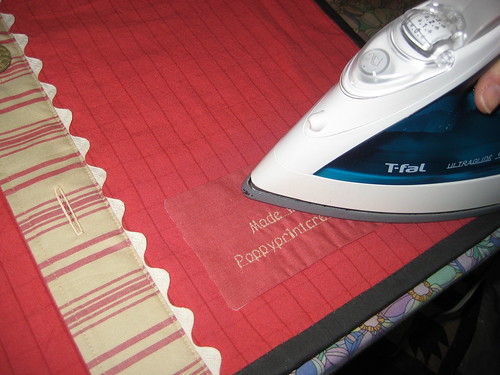
My favourite method of attaching a label is outlined in
this tutorial, illustrated through a series of photos in a flickr set. If you don't have access to lightweight non-woven fusible interfacing, you can achieve the same result with a used dryer sheet, except that you'll have to pin or glue-baste your label to the quilt back instead of fusing it. This is such a convenient way to secure your label's seam allowance for easy applique.
I'll be the first to admit that quilts intended for my own home sometimes go unlabeled. I'd never sell or give away a quilt without a label, though. It takes many hours of labour and love to create a quilt and I am proud to attach my name to my work! I hope you will, too. That way, when your great, great granddaughter pulls your quilt out of her hope chest to share with a friend, she can proudly tell her exactly who made it and when.
If you have a label or labelling idea you would like to share... Link up below!!


