


Constructing your Quilt Top - Part (B)
Most Quilts are made up of smaller blocks pieced together to form larger blocks/sections. These larger blocks or sections are then sewn togetehr to make your Quilt top.
Last class I showed you a few different design options. I also told you briefly how to put your Quilt Top together.. This class I'm going to show you step by step how i construct mine..
For this quilt you will have 14 rows of 12 HST (half square triangle) blocks.
The first step is to sew these 12 HST blocks into rows and then sew the rows together.
OK, You should have all your blocks laid out here...

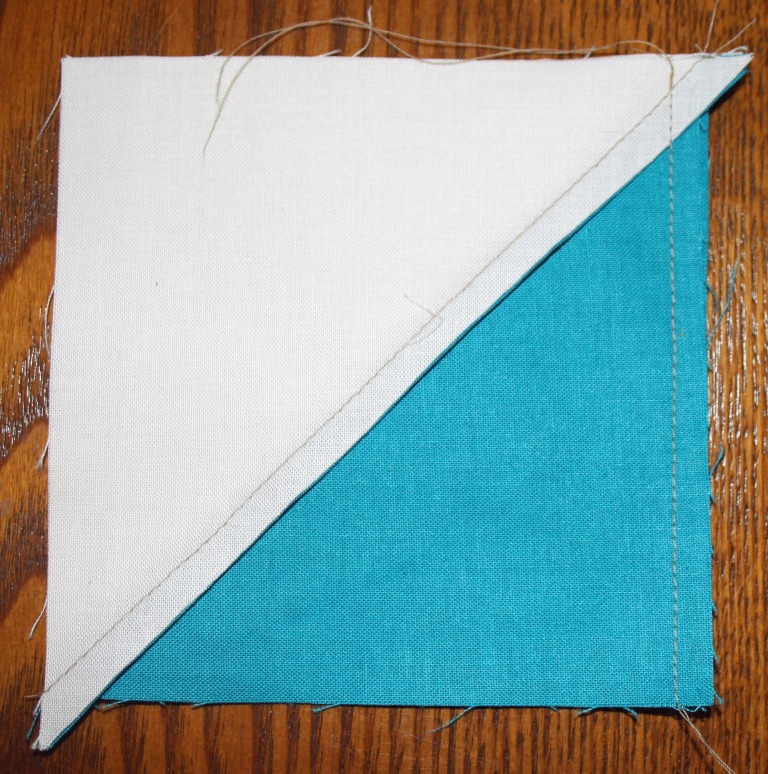
If your doing another design.. that's fine, the basic construction for all quilts are roughly pieced the same. For this quilt, Take your first two HST blocks..

Lay your block on the right.. on top of the block on the left, right sides together... Sew down the right side 1/4" from the edge.
Open it out and repeat the step above with the next block.


Continue along until you have all your 12 squares sewn together.

Once they are all sewn together, and you have your first row complete.. Start sewing the next row...

You will now have two rows complete...
I get to this point and now I press the seams. You can either iron the seam to one side or iron them open. I find opening the seam gives you a nice flat finish but it does take a little extra time. At this stage of the quilt, I have chosen to iron the seam to the side.
For your top row, Iron the seams to the left.
For your bottom row, Iron the seams to the right.

Ironing the seams a certain direction, allows the seams to lock in place.
Once pressed lay your rows out one above the other. Line up your seams.

With right sides together, fold the top row down on the bottom row. Line up your seams. You can see by the picture below, one seam is pressed to the right and one is pressed to the left. They sit nicely together.

Take a pin and I like to pin into the seam, 1/4" down from the top.

Line it up so the pin goes through the back seam...

Then back through to the front.

Continue pinning through each seam along the row. I also like to put a pin in between just to keep it firm and in place.

Now, its time to sew these two rows togetehr. Sew carefully a 1/4" seam allowance. It can be a bit bulky going over the seams... Just go slowly...

Your row should now look like this.

Press your seam. I pressed this seam open, but you can press it open or to either side.

Your first row is complete... Now on to your next row...

Once you have your 7 rows complete... Follow the above steps when piecing these rows together... And you will have your Quilt Top complete... I'm off to complete mine....
Next up, I'm so so excited to introduce you to the inspirational Saffron Craig.
Saffron is teaching us another Quilting technique
Paper piecing!!!
Want to learn how to make this???

Its gorgeous!! xx
Looks great, Love the white with all the colour Xx
ReplyDeletei 'm looking much forward to the next post - the sandwich! as i just received my bent pins in the mail today....so i'm all ready, but a bit nervous! :/
ReplyDeleteBec, you are doing such a fantastic job with this series!!
ReplyDeleteAndi xxx
Oh yay---I'm so excited about the paper piecing post. One of my friends is a genius at doing this and I haven't asked her how she does it so I'm very interested to see Saffron's technique.
ReplyDeleteI typically pin but have never pinned through the seams like you suggested. I bet that really helps keep things all lined up especially on quilts where alignment really matters.
ReplyDelete