OK.. are you ready?First Step, is to find out
how much fabric do you need?... Get out your calculators...
Do this by adding 2 x width and 2 x length. So, My Quilt Top measures
2 x 50" + 2 x 58" = 216"
then divide 216 by 44" (width of fabric) = 4.9
So, you need 4.9 or 5 Strips to get you all the way around. I always add an extra just in case... So 6 Strips.
Your strips need to be 2.5" wide, so you need 6 x 2.5" = 15" of fabric
Still following?? You can work it out quickly in your head once you get the hang of it.
Cut your 6 strips, 2.5" wide.
With a 1/4" seam allowance, join them them all
end to end, so you have one long continuous strip. You can do a diagonal seam to reduce bulk, but i don't usually.
Press seams open.
Next, with
wrong sides together, press your strip in
half length ways...
I always
start at the bottom of my quilt. Lay your binding strip on with the
raw edge of your binding along the raw edge of your quilt top.
Leave around
6 inches and place a pin to hold in place.
Start in front of the pin you just put in,With a
1/4" seam allowance and your walking foot,
sew down a few stitches and
reverse to secure. Continue sewing along, 1/4" in from the edge, until you reach your first corner.
When you are
1/4" away from your first bottom edge ( or next side ), put your
needle down. Lift your presser foot .
Swivel your Quilt and instead of continuing to sew down the next side.. you are going to
sew backwards off your quilt top
Secure with a few reverse stitches. Pull your top out of your machine and cut your threads.
Take your binding strip and
fold it up 45 degrees... See below.
Then fold it
back down on itself. This will give you a
neat mitre corner.
Now,
Continue to sew down this next side. Remember to do a couple reverse stitches again in the begging to secure.
Sew all
around your quilt, mitring your corners as you come to them. When you get
close to where you started...
Stop about 8-10 inches away and
Reverse to secure.
Take your quilt top out of your machine and
lay on a flat surface. Take your ruler and
measure the distance between your two spots.
Another formula for you..
Mine was 8 inches, So,
8 inches + .5 inch(seam allowance) = 8.5"
Divide by 2 = 4.25 inches.
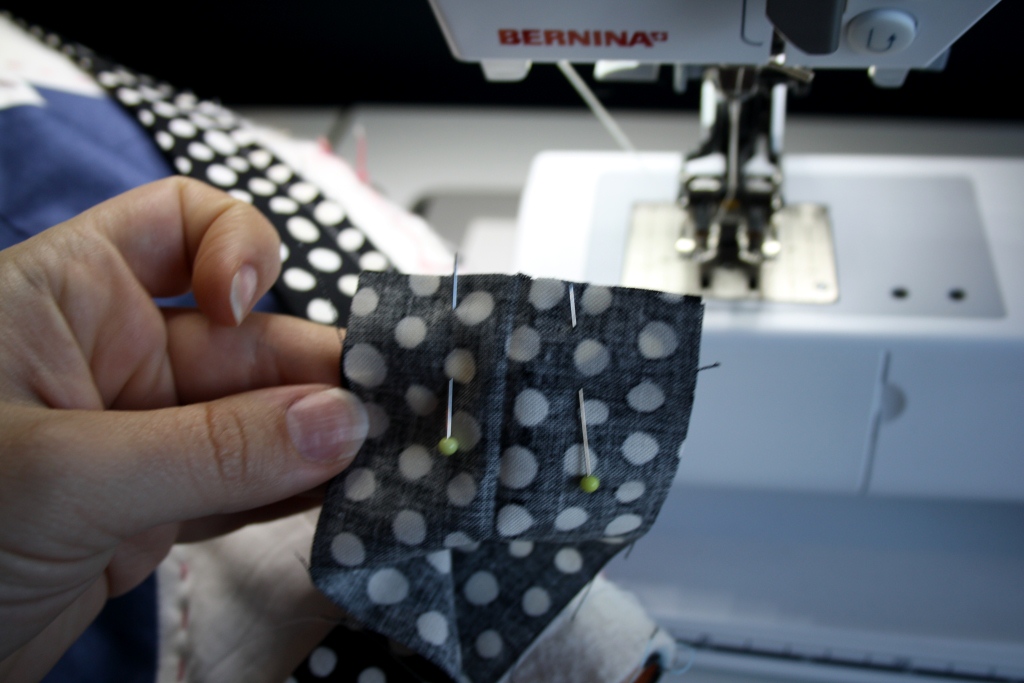
Next,
Measure and cut each binding end... Mine needed to be cut 4.25 inches long. You will cut yours differently depending on your measurements.
With
right sides together,
pin to hold.
With
1/4" seam allowance sew these two binding ends together.
Fold out and lay flat and
sew this down onto your quilt... You have now finished the machine sewing part. Almost done!
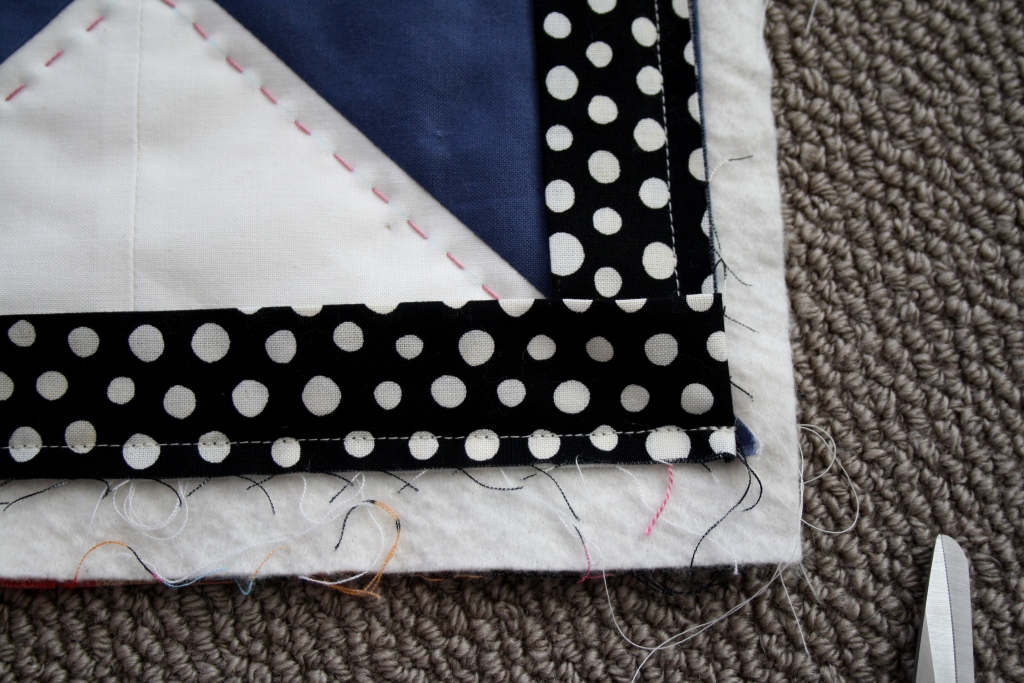
Take your scissors
Cut off the extra batting all around the edge of your quilt. Take care cutting around your corners.. you don't want to cut a hole in your binding.
Iron your binding out flat
Fold your binding
back over to the back of your quilt.
I always fold mine
just over the sewing line so you cant see it.
With a
slip stitch...
Sew in place.
When you get to the
corners, the side you were sewing goes under first and the next side folds neatly over top...
Continue all around your edge and
your done!!!! A BIG CONGRATS to you!!!!
and
Congrats to all of you who read ALL the way down to the bottom of this post!!!
If you have a binding tutorial you would like to link up... you can link up below...


Excellent tutorial! I am still working on getting my bindings looking neat and completed easily and I think this will help me along a little. I think I've just got used to doing mitered corners, now I just have to do them well!
ReplyDeleteMe agrada el resultado de las esquinas..he aprendido el paso de trabar la costura antes de hacer el doblez gracias a su tutorial.
ReplyDeleteYa tengo que practicarlo!
Thank you! great tutorial
ReplyDeleteGreat tutorial.Thank you for sharing all of your expertise with us, you probably have no idea how many people you have helped. I love the polka dots not at all what I was expecting.
ReplyDeleteGreat tutorial. I always join my strips on the bias but had forgotten why. You reminded me that it was just to reduce the bulkiness. Thank you for that and a great tutorial.
ReplyDeleteThank you for another great tutorial!!! I can't wait to see all of the finished quilts!!!
ReplyDeleteI haven't seen anyone sew the binding on before cutting off the extra batting/backing, but it makes sense! I have two quilts waiting to be bound and will try it this way. Thanks so much for the class and really wonderful tutorials!
ReplyDeleteI usually cut the batting off first too, but I think I may do it this way next time. Thanks for the tutorial.
ReplyDeleteThanks for this tutorial! I linked up a bias tape tutorial for anyone looking into making rounded corners on their quilt. :)
ReplyDeleteWow binding already it's flown by! Great job Bec!
ReplyDeleteThank you Rebecca! This was again very good tutorial! I didn't have time to make a quilt now but I followed every lesson and they were really good and so usefull!
ReplyDeleteAnd now...is the class over...
Thank so much for these lessons! Your quilt became beautiful!!!
xxx Teje
This binding is just wonderful. Others make it so difficult sewing 45 d. angles. I was going to give up quilting because I dread doing those end tails. Thank you for helping me continue quilting. It means a lot to me.
ReplyDeleteFirst, great binding fabric to finish off your quilt!! Second, thank you! I've read untold numbers of binding tutorials and this one is super simple and easy to follow! Again, thanks.
ReplyDeleteGreat tutorial. I have done this before but really appreciated seeing the very clear step by step directions. My next project should be easier with this help you shared.
ReplyDeleteGenius! I've never known a good way to close the binding. You're way is so easy! Thanks!
ReplyDeleteAlways interesting how many different ways there are to do binding, lol
ReplyDeleteI always start my binding at a bottom corner so that there's no need to "join" the ends. Just fold in the raw edge and sew over. But I also fold my binding in half again (before attaching) so that there's only one raw edge per side (and it's tucked way in/under).
thanks Becca! that is one fabulous quilt! I can't wait to make time to finish mine but it won't be for another week probably (going on a quilt shop bus trip this weekend!) I appreciate all your hard work showing me how to quilt! I'll share once it's done!
ReplyDeletethis WAS a great tutorial! I haven't quilted mine yet :( Went on vacation for a week and still mentally there LOL. You make binding look so easy. thanks :)
ReplyDeleteGreat tutorial! I have never seen the stitching at the corners done like that - where you reverse stitched off and then started again at the edge. I will have to try that next time.
ReplyDeleteAh, the things you learn! I had no idea that measuring the ending distance was done that way, I normally guess. Thanks for that!
ReplyDeleteThis has been a great tutorial for me. I started a log cabin quilt 12 years ago and just finished it last week. I had most of the fabric selected and the pieces cut for the center block, but once I signed up for your class, I was able to add new fabric and make a complete bedspread! My sister helped me with the binding step because I just couldn't wait. Thanks so much for your tutorial!
ReplyDeleteThanks for your tutorial. The quilt looks spectacular with the black and white dotty binding.
ReplyDeleteThanks for the tutorial. It was very timely. I just did my first binding yesterday.
ReplyDeleteThis would have helped me a whole lot yesterday!! But I've learned alot from this . Thanks.
ReplyDeleteI am too impatient for hand-sewing the back of the binding down, so I'm using this tutorial for doing it all on machine. It's fantastic. I would link, but it's not my own... ok maybe I'll link it anyway because it's really great.
ReplyDeletehttp://www.oliveandollie.com/2011/04/tutorial-how-to-attach-quilt-binding-by.html
Super awesome! Thanks:)
ReplyDeleteTHANKS for the tut and great pics :)
ReplyDeleteWorked like a charm...great pictures, clear directions, flawless binding!!
ReplyDeleteThanks so much.
Laurie
Las Cruces, New Mexico
Thanks so much for your great tutorial on how to do this binding. My friend tried to explain this to me, but seeing the photos really help!
ReplyDeleteI made a baby blanket and referred to your binding tutorial in my blog post! Thanks again.
http://www.stemmom.org/2012/03/blanket-tutorial.html