


Batting Piecing by Machine Tutorial
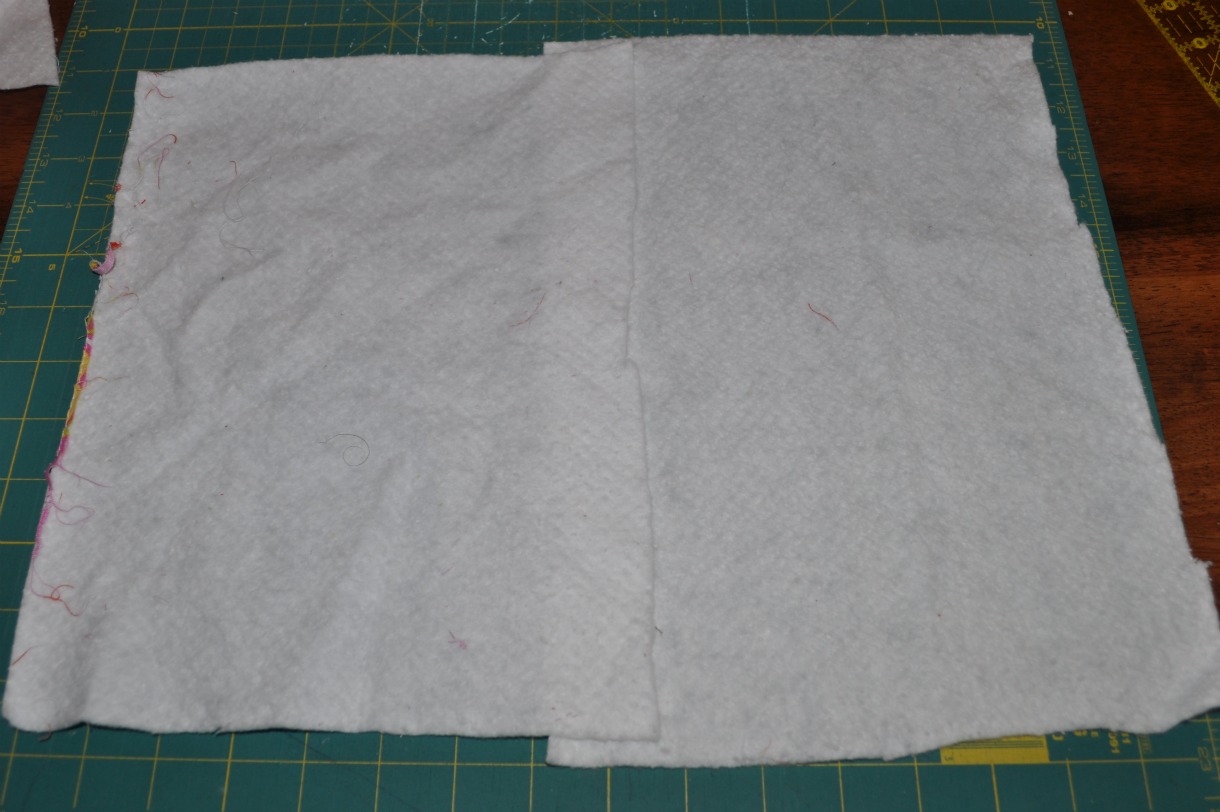
Here are instructions for piecing together batting--I do this when I have large scraps that can be put together to make a batt large enough for a quilt, or sometimes I even piece batting for smaller projects if I need to. Step 1: Lay out the two pieces of batting, with one overlapping the other by at least a couple inches.
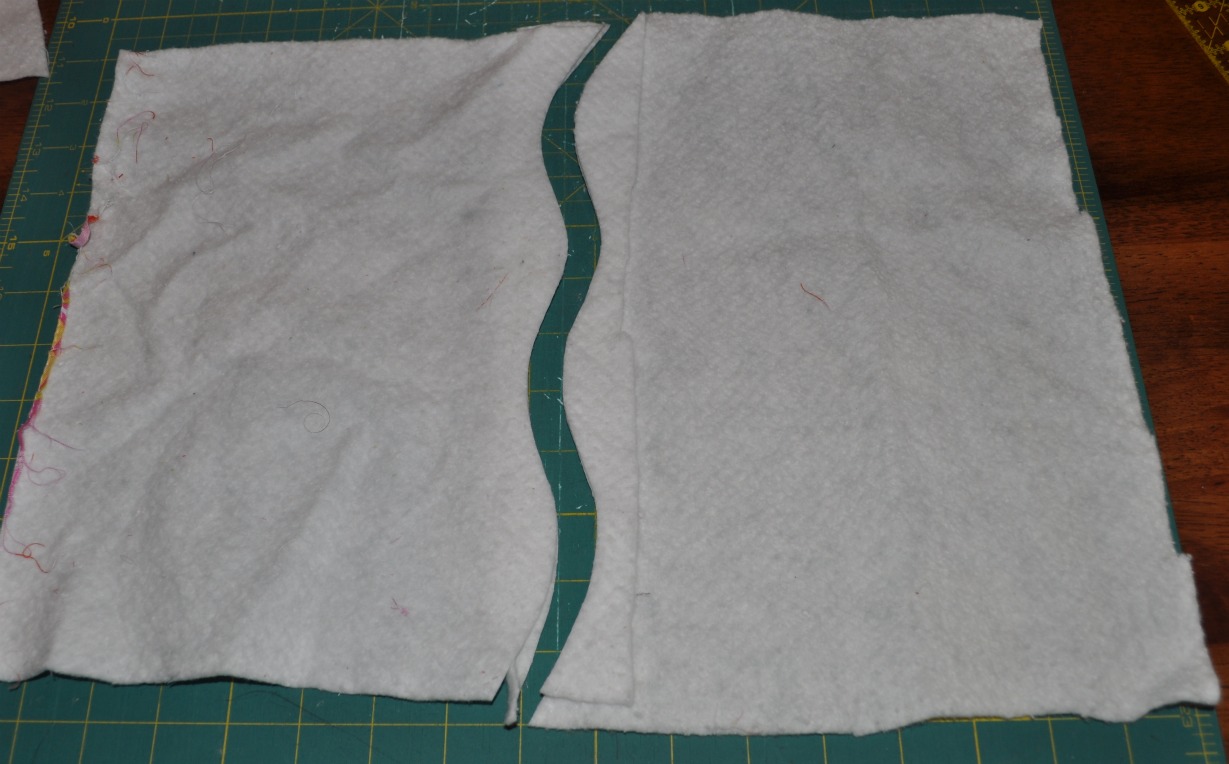
Step 2: Using a rotary cutter or scissors, cut both layers of batting in a wavy line. The wavy line is important--if you stitch the batting together using a straight seam, it could come apart a little bit inside the quilt, and then you will have an obvious lumpy place and/or fold line that doesn’t look so great.
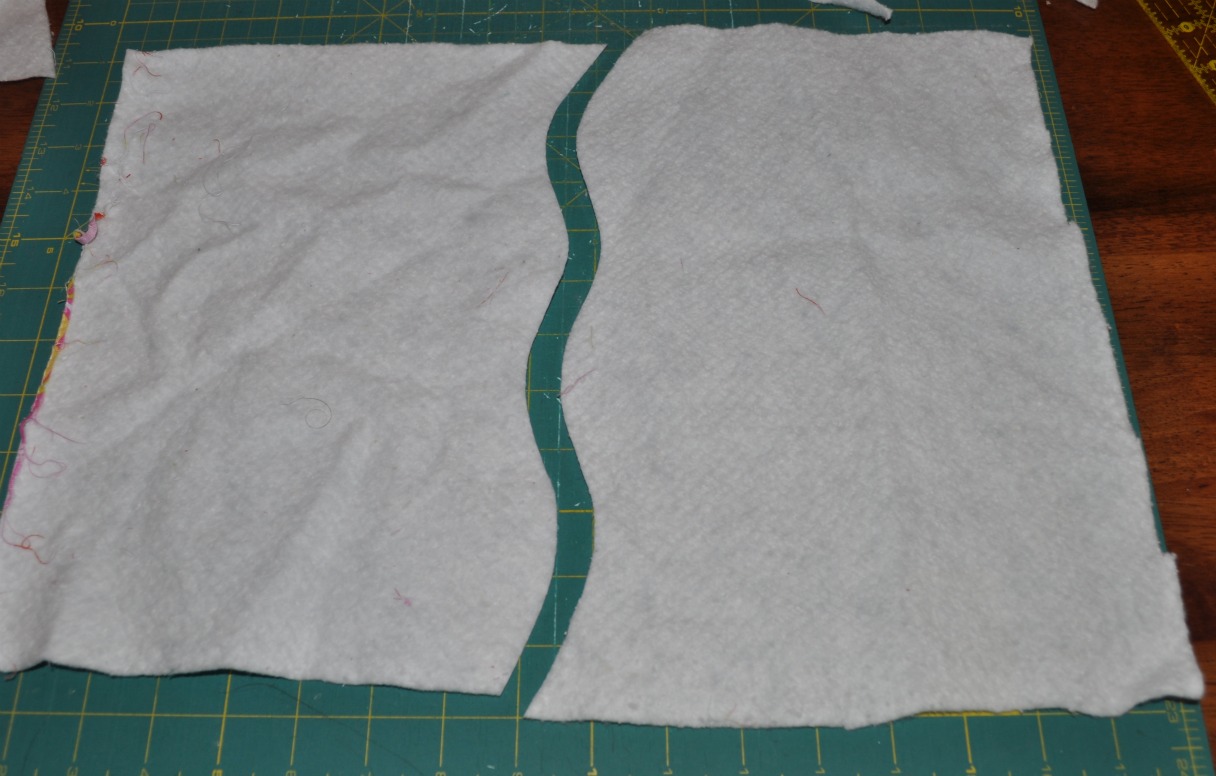
Step 3: Remove the small strips on either side of the cut you just made.
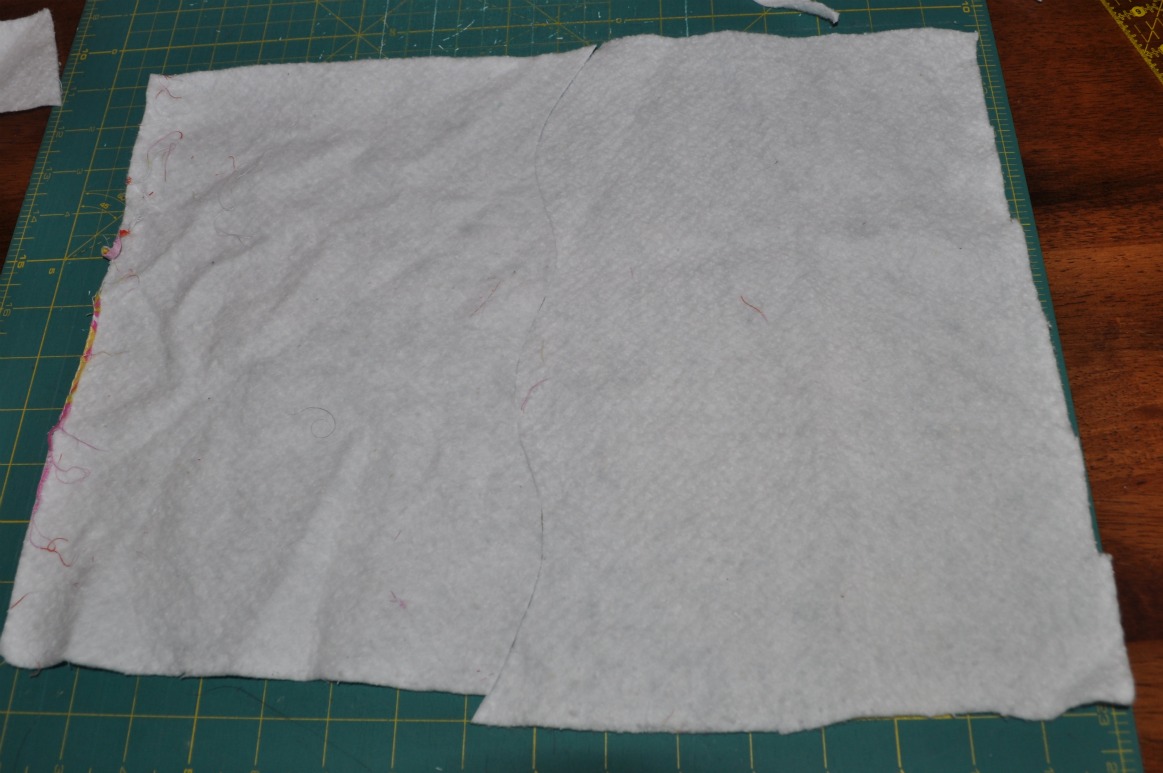
Step 4: Line up the two larger pieces of batting, matching up the edges along the wavy cut. The pieces should butt up against each other, but not overlap.
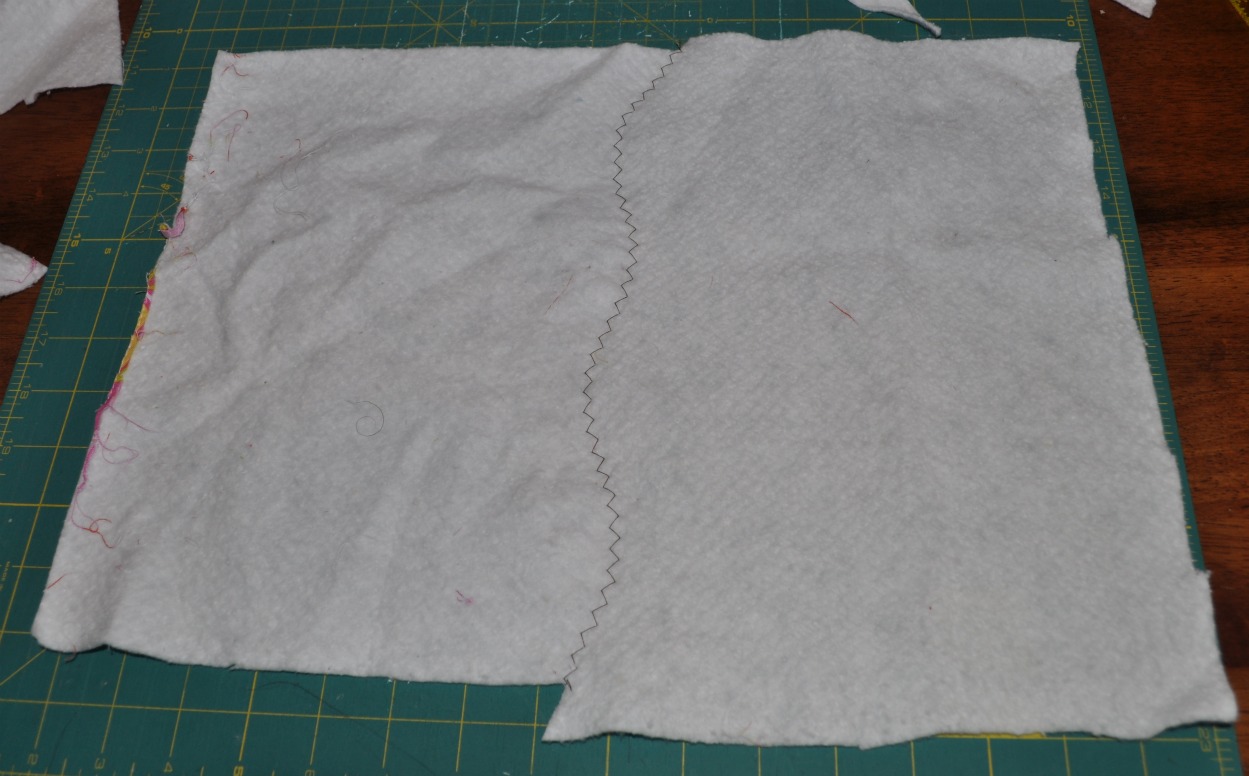
Step 5: Carefully move the batting pieces to your sewing machine. Set your machine to stitch with a wide and long zigzag stitch.

Make sure the pieces are lined up right and stitch them together so the zigzag stitches hold the two sides of batting together, without overlapping. I used a dark thread here so my stitches show in the photo, but usually I use white thread.
That's it! For piecing very large pieces of batting, you might want to hand stitch because it can be easier to keep the pieces aligned. Hand piecing is probably also better if you are using any kind of higher loft batting, as well. This tutorial at my blog includes directions for hand piecing batting, the way my grandma taught me when I was 13.
Thank you so much Vicki...I'm definitely going to give it a go!!
Vicki has a great blog over at Sew Inspired. I have been following her blog since I started following blogs she is one of my Favourites!! I hope these last few posts on Batting have helped give you options that you may not have been aware of. I also hope you have been busy sewing your QC Quilt Tops together.
This weeks Class is all about backings!! Fabric backs, Working out measurements, Pieced backs.. MORE OPTIONS!! xx
*** Mr Linky is back working***
Link up
and any Batting Tips HERE
and
***Get Ready!!!..... I would LOVE for you to link up some of your Quilting posts that include a pieced back. Share the different designs that you have done for your backs... It will be great to sit and browse through your projects for inspiration... Old and new posts are welcome as long as it shows a pieced back!***

This is a great tutorial. Thanks for sharing.
ReplyDeleteThanks for the tute! I keep my scraps, too, but usually wind up using them for dusting, and laying a piece on my shoulder to catch threads. I just blogged about a QOV quilt I finished, and it talks about piecing the back, here: http://scrapsofhappiness.blogspot.com/2011/06/learning-process.html
ReplyDeleteI do piece my scraps but have not tried using the curvy join. I still have loads of little strips (between 1-3 inches wide) that would not be worth joining. I wonder if anyone has any tips of what to do with those but then at some point, I have to just say uncle and toss them. :-)
ReplyDeleteThank you - this was a great tutorial!
ReplyDeletethanks for the curved edge idea! nice!!
ReplyDeleteDidn't know about the curves. Thanks!
ReplyDeleteThe curves are great. I only saw the straight alignment before. It makes perfect sense. Thanks.
ReplyDeleteNice tutorial thank you. I must say I am guilty of keeping scraps of all kinds. I have various mountains in my workroom!
ReplyDeleteThat is a super helpful tutorial! Thanks! I have always had problems piecing batting, probably because I tried using a straight line. I just found your blog recently and that we are distant cousins (Canada, Merrill connection). I love everything I'm reading and I'm learning lots. You are super talented!
ReplyDeletefwiw, i've always pieced my batting with a straight stitch and have never had a problem!
ReplyDeletethat came out wrong- i mean i've pieced it straight, with a zig zag stitch :)
ReplyDeleteHmm...I did not know the curvy line part. Thanks for the tip!
ReplyDeleteThanks so much for posting this! (First time visitor - lovely site!)
ReplyDeleteso clever...thank you!
ReplyDeleteNow that is great. Thanks for sharing! I have never attempted to piece batting, but why not? Have you ever had the seam show through? That's the only reason I have never attempted this - but your curvy line to help match up the edges is brilliant! :)
ReplyDeleteThe seams don't show through... and actually I've found with warm and white batting I usually don't need to do the curved seam, at least for smaller quilts. Just make sure the edges butt up straight to each other. I did do the curved method for a king size quilt I'm working on... for sure I want that one to turn out right so I cut the curves and I even hand sewed the batting together.
ReplyDeleteGracias `por compartir la forma de unir.
ReplyDeleteun abrazo....
Have often used batting put together from two pieces but always sewn together by hand. I`m going to try putting them together by machine. I always save leftover pieces and cut them up in small pieces and use them for filling in toys - just made a ball for my grandchild and filled it with these pieces
ReplyDeleteCostumo fazer emendas em linha reta com a sapatilha de matelassê, pois ela evita que a manta estique. Em curvas nunca tinha tentado,vou esperimentar,obrigada pela dica, um abraço.
ReplyDelete