I went to a local discount fabric warehouse and found a roll of this fabric. Like i said, having NO IDEA how to recover or how much to buy... I bought 12 meters.. (what was left on the roll). I figure, if I'm lucky I might have some left over to make a couple cushions.

The next part...
I sat for a few hours one day watching You Tube video's on Reupholstering chairs.. I couldn't find one great video that teaches you everything.. But i did watch a few different ones to pick up a few tips and tricks here and there... You can see a good one that i watched HERE

As I started taking off each fabric piece layer by layer... I took heaps of photos so i could figure out how on earth I was going to put this chair back together! I was amazing at how little 'sewing' was actually needed. The whole thing is just stapled together.

I recon this chair had about 1000 staples. It took me around 8 hours to get the staples out. With each layer you uncovered, you found another 100+ staples. Guess what we did one night instead of going on a date???

Tools needed??
Electric staple gun. Definitely Electric!
Box of 1000 staples
Hammer and screw driver to help remove old staples.
Cardboard and metal strips I saw from this You Tube video. (I needed 2 x metal and 4 x Cardboard)
When i went to a local re upholstery shop to see if they would sell me the cardboard and metal strips i needed the man was full of confidence.. and as i was leaving, he happily said..
Bye,.... Ill see you next week after you have stuffed it up!
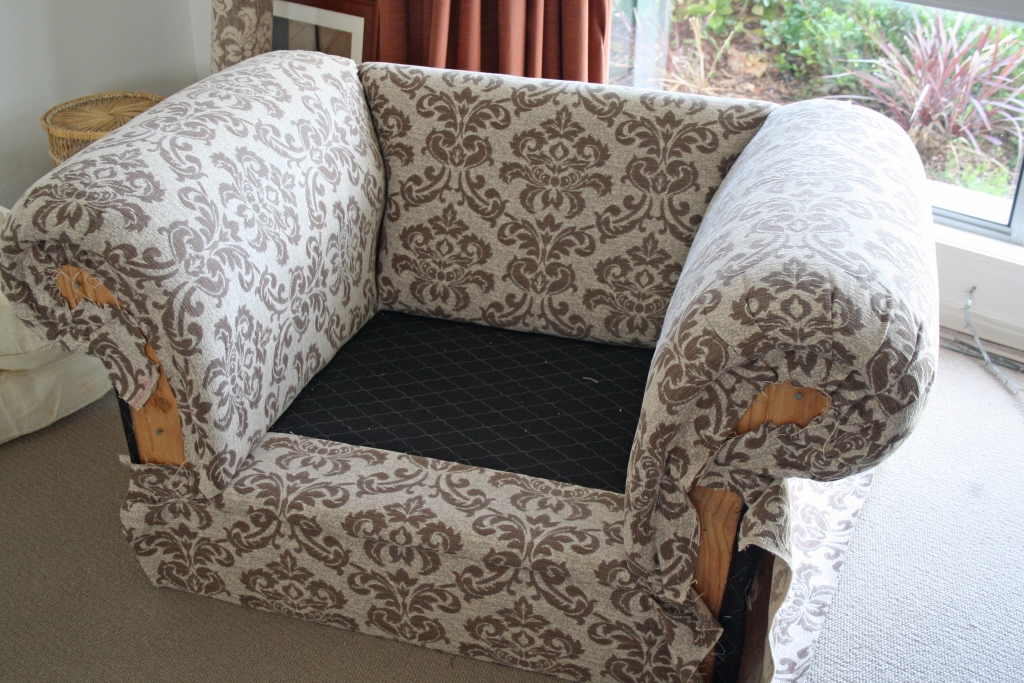
So, with my I'll show you attitude.. I started and the first part to cover was the bottom seat part. I pulled the it off, unpicked the previous fabric, and I just reused the black piece.

The order of my chair to put back together was....
Front/bottom piece, Side curved arms, Back middle section, Under side arms, back piece, base cover and front panelling...and cushions.
TIP:- With the side curved arms and the middle back piece, your fabric needs to go around the frame of the chair. This was probably the hardest part... You need to make a clip in your piece so you can tuck it in under and around the sides. You will understand what i mean as you take your fabric off...
I used the old fabric as my pattern piece to cut my New piece.
When cutting your fabric... Cut a generous 2-3 inches all around your pattern piece. My fabric torn and old, so it stretches, warps, and shrinks...So just give yourself some extra.

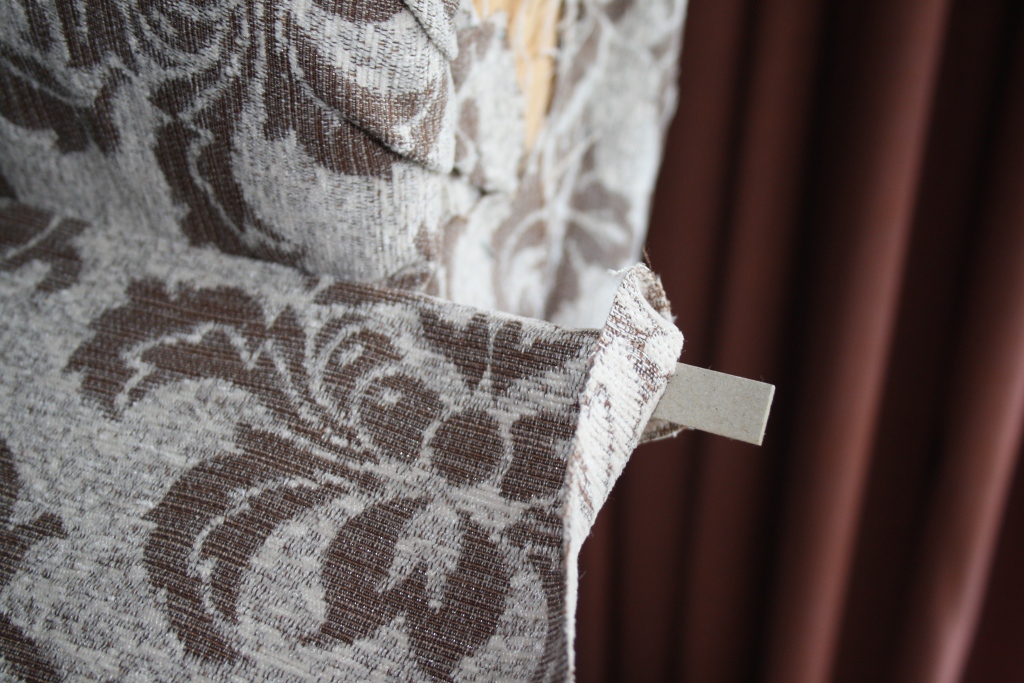
For the front, sides and back, In order to get a nice neat fold... You staple the fabric to hold in position, lay the cardboard strip on and staple it firmly.

Then fold the fabric back down and secure it at the bottom and sides..

I'm now working on my back piece

I'm nearly done!!!

I Can't wait til its finished... Its been so fun!!
I'm already stalking the streets for pick up days and second hand stores for my next project!