Tuesday, October 5, 2010

How I Baste My Quilts....

It's sometimes interesting to see how other Quilters put their quilts together...
...so i thought id show you how i do mine...


 I lay my backing fabric out on my floor (Fabric side Face down).... I line up a selvaged edge with the lines on my floor boards and use the floor board lines as a guide....


I use 2" Masking tape and tape the Bottom left corner first. See in this picture how i line up the edge of the selvage with the join on my floor... Lining this up properly, comes in handy in the next few steps...


 I add another piece of tape...to hold the fabric firm in place... I then proceed to tape the other corners...In ORDER -  Bottom Left, Bottom Right, Top Left, Top Right pulling each corner really tight. When taping each corner, I line them up along this same join in my floor boards...


Once all the corners are done.... You will find it bows up a little in the middle between corners...... This is where the floor board join comes in really handy....Starting in the middle you begin taping the Bottom selvage edge... Pulling the selvage edge down, until it is also lined up on the same floorboard line as the corners...... Repeat with Top edge and then Left and Right sides.... 

The back of your quilt should now look like this...

Next, lay your batting on top... i try and use the fold in the batting as a guide and lay this fold along the join in my backing fabric....My favourite batting to use... is 100% Cotton, Or a Bamboo Batting... There are alot of different qualities and thicknesses out there... I use a thin batting and the best quality i can buy.


Throw your quilt top onto your batting.... I line up the centre seam in my backing fabric with the middle of my quilt. Sometimes... a pieced back works great and you may want the seam 3/4 way down or in various other positions depending on the quilt... Just remember to pay attention to where you want the seam and esp if you have a backing fabric that is directional... I made this mistake once... the backing was pinned upside down... took ages to unpin and redo!! SO be careful.....

Next, Climb onto the middle of your quilt. I like to start in the centre and smooth out all the creases. Take your time making sure it is nice and flat...


Now comes the pinning!!.... For me its a MUST to use proper angled safety pins (Cant remember the 'proper' name)... these are angled so when you put the pin into the three layers it easily pops back up through to secure in place...


I start in the middle of my quilt and with my Left hand smooth the fabric out really flat and pin with my Right hand... I place pins about 3 - 4" apart.


 I constantly smooth and pin, smooth and pin...from the middle I work out towards the edges...


Once its all pinned... I cut through the three layers, about an inch away from the edge of the quilt top....
all around the edge.... It is now ready for Quilting.... mmmm yes and with this quilt...I'm a little stuck!


Everyone does baste their quilts a little different. I have learnt to do it this way through a little trial and error mixed with different techniques from a few quilt classes I took from my local quilt shop Blueberries. I have found my quilts never crease on the back... they are always perfectly smooth and flat with no bunching... this way works for me....and i Hope this helps some of you!! xxx

Thursday, September 30, 2010

From this....to this!!!

As i just shared, I recently bought myself a NEW camera. A Canon 1000D DSLR. Its just an 'entry level' Digital SLR camera... but is incredible compared to my little 'Point and Shoot'  camera (you can see i did my research from all my technical knowledge!! ) Anyway, when i got it home and got it out of the box and saw how lovely it looked....
..then saw the BIG BLACK BORING CANON STRAP..... i thought....
..how UGLY is THIS!!!.....

So I turned This........Into This!!


 I had remembered seeing various tutorials on Camera straps, and Camera Strap Covers...etc and with my own fabric arriving this week... I thought it suited perfectly!!!


It definately turned my camera from looking a bit Industrial to a little bit more lovely. It was easy and quick... the hardest part was unpicking the hardware at the bottom of the original strap.


This tutorial with the ruffle came from Crap Ive Made and she also did another pieced Camera strap tutorial here. You can also find another tutorial here. But there are lots out there.... Just look to find the Perfect one for you!.. In most of the tutorials... they use heavy fusible interfacing. I just used left over batting and I found it worked perfectly... and its WAY more comfy on my neck than the original Canon strap!

Photo Courtesy of my Iphone...
  And for those of you that like a quick fix... You can find already sewn Camera straps and Covers for purchase from various etsy shops... one of my favourites is knitty bitties. She has a whole shop full of gorgeous covers....mmm i think id like one in every colour!

Sunday, September 26, 2010

What Have I Been Up To??

Well......Let me show you a few pics....

This Fabric arrived last week. Its the beautiful new range from Patricia Bravo...Paradise.
I bought mine from Hawthorne Threads... but I'm sure there are many stores stocking it....

 I then cut it up into little squares and cut these into template pieces....and this week i have spent a few hours pinning!! .....
 This may look like an absolute nightmare to some of you...and then again, therapeutic to others.... I happen to be in the Therapeutic group. I just sit, and watch the kids play,... and pin, watch them draw.... and pin, watch them do tricks on their scooters... and pin.... I watch TV, and pin, sit and talk on the phone and pin,  Yes LOTS of pinning... but well worth the effort! 

This lovely pile means I can sit and SEW and SEW and SEW! All these squares are for my new Quilt in the making... I worked out I need 144 of them!! I cant show you just yet... but this new Quilt and soon to be new pattern is made up of corner to corner curves...very fun!

The other thing I have been doing this week is..........TAKING PICTURES!!....

I splurged on a new camera!! A Canon EOS 1000D, Digital SLR camera. It has been fun learning all about the many functions you can use...  I was a little embarrassed telling the sales man that i needed a 'NEW' camera to take pictures of Quilts for my Blog! Yes he did look at me a little weird ....but hey!! I'm Excited!...... and can you guess who else is excited?

 
My little Indi!! Loves pictures....

And 2 Yards of My Paisley Fabric arrived from Spoonflower....
(Its so hard to get a great Picture of it... The pictures just dont do the material justice.)


....so with my new fabric, I'm off to girly up my camera with a New Camera Strap! I found a great tutorial from Crap I've Made...haha.. Great Blog title!!  I'm going to give it a try.. 
and 
ill be delighted to show you some pictures!! xxx


Tuesday, September 21, 2010

Amazing website - Creating A Childhood

As i have spent many hours at night blog hopping and reading all about each of you, i have found a common thread... Quilting/Home Crafts/Creating things and our most important job....Creating our Families.
In our profiles many of us are mums, who juggle the jobs of raising children, managing a family, cooking, cleaning, some of us working as well, and we all try our best to squeeze in a little Craft time...sewing or making something for our own sanity and head space. With this in mind, Im excited to tell you about an Amazing site...
http://creatingachildhood.com/
This site was developed by Lisa Rigby, a wonderful mother of 9 . Her passion is her family and the childhood shes creating.... On her site she wrote....

"This is a collection of my favourite mother stuff gathered from other mothers, books, lessons and 27 years of 24/7 experiences. I love the mother job. I hope something here helps you as you create a beautiful childhood..."

Her site is 1 year old this month! She has thousands of followers and subscribers!! I chose a few topics...


.......but there are soo many more. They are all fantastic and you find yourself looking at the computer nodding.. 

About Lisa,

"I have a wonderful husband. We wanted a large family, and because of the example of my mother, the teachings of our church (the Church of Jesus Christ of Latter-day Saints), and boundless energy, I felt confident we could do it. I found out it was much harder and much better than I expected.
Harder- long months of nausea, scared stiff of delivery each time, an astonishing amount of housework (I was not a worker), an a selfish, impatient nature- mine!
Better- the miracle of making a new person, the love and beauty of a baby, the laughter of a child, the frequent intensely sweet and precious moments that you don't have time to write down because you are too busy living them.
We had 4 boys first, then 4 girls and a little boy at the end.
They are our best friends, our greatest happiness, our biggest challenge and our treasure. And still an astonishing amount of work.
The oldest 4 boys have all spent 2 years doing humanitarian service in countries less fortunate than Australia, as missionaries for our church. 3 are married, and we currently have 6 children at home-2 university students,
2 teenagers and 2 primary school children.
It's like a party every day whether you want one or not."

She also asks Mothers to write a profile on their own Mothering Experiences... I was lucky enough to be able to write mine here. Her site is amazing...

You are going to LOVE it!! xx

Friday, September 17, 2010

Good and Bad News!!

Well lets start with the GOOD news!! I have been over to Random.org to find 3 Winners from my Rolling Meadows Quilt Pattern and Fabric Giveaway.......
drumroll.....

Winner #77 - Fabric and Pattern!!
I found your blog through Lovely Little Handmades when they gave away some of your patterns a little while back :)

Winner #129 - My Pattern
Jeni said...
A beautiful quilt! I found you through Kate Conklin! :)

Winner #33 - My Pattern 
Kathleen C. said...
I do love your quilt and the eye catching tree fabric. What a kind giveaway you've put together. I know I found you through another blogger's link; it might have been at Kate Conklin Designs.
Thanks very much.

Thank you so much to everyone who has entered!! Winners, Ill be in touch!!

I now know, most of you... have come over from my BFF and Partner in Crime...  Kate!! Arent we lucky to have friends! I Love you Kate!

Now for the BAD news... My computer died! It crashed.. something major happened....wont turn on, wont turn off! So its in getting fixed and what a drama it has been to be with out it. I know, YOU know, how difficult it is to live without your computer close by. I never realised how much I jump on quickly, here and there. My hubby seems to blame ME!! Of course!

He said "It has never had a problem before YOU started Blogging and Blog Hopping all over the place..."
Ah Yes, My fault...Of course it is!!  So im borrowing a family computer.. which means I have NO PICS to show.. I spose the GOOD thing that has come out of not having my computer is.... I have actually been busy sewing and making things...other than Quilts!! i know..Its a surprise! Ill blog about them soon.

So I was searching blogs to see if I could find a picture of something- from me... and I was lucky enough to find some pictures over at Material Obsession. The Lovely Kathy loved my Sand Castle Quilt Pattern and has taken a few pics of it on her blog here and here! Thanks Kathy!! xx

Sunday, September 12, 2010

New Quilt Pattern and Giveaway!!

Its here...!!


My Rolling Meadows Quilt Pattern is finished and NOW Available for Purchase! This Quilt is quick and easy to make...Perfect for beginners or for a fun, quick project!


This Quilt was made using the Joel Dewberry - Modern Meadow range. You are still able to buy the fabric from  Hawthorne threadsFabricworm, Pink Chalk, The Fat Quarter ShopSew Deerly Loved....Just to name a few! This quilt is made using a Jelly Roll and this amazing Tree fabric I fell in love with. Its a little hard to see from the pics... but I quilted it in straight/wonky lines from top to bottom.I wanted the quilting lines to look like branches laid on the ground. I was really pleased how it turned out...and quick and fun!


Now for my GIVEAWAY!! 
Firstly I'm giving away some of this amazing Tree Fabric...1 Whole Yard of the yellow trees to be exact!....
and a 8" x 44" strip of the green trees. 
I also have 20,  2 1/2" strips, varying lengths to throw in!
Plus the winner will also receive my new Rolling Meadows Quilt Pattern of course!


I have 2 more Patterns to Giveaway... so there will be Three winners in total. This giveaway will close
Thurs the 16th September and a winners drawn on Friday.


How to enter?? You have a few chances...

1) Leave a comment on my blog telling me how you found me! Being as though I'm only new to blogland...Its fun to find out where you are all coming from! 
2) If you follow my blog or become a follower...leave another comment.
3) If you blog about my giveaway... or have me on your sidebar... leave another comment!

PLUS.... MY pattern will be on sale... 30% Off... while my giveaway is on....click here  and of course ill reimburse the winners if you happen to have already purchased my pattern.

Thanks so much for entering!! Its been so nice clicking on your name and checking out all of your amazing blogs!! There are so many great blogs out there!! xxxx good luck xxx

Tuesday, September 7, 2010

The Things we do for LOVE!


This last weekend, we celebrated Father's Day here in Australia. So i have been thinking alot about the two fathers in my life. 1st, my own Father... thinking about how wonderful he is, how he is always so willing to drop everything, anytime for us kids. A friend,  someone to confide in, listen to, a role model.... He is a fantastic grandpa! Who rolls around and plays games with my kids. And when I rang him yesterday and said "hey dad, do you think you could come home from work early to take pictures of my quilt before it got too dark... he said "sure honey, what time?"

The 2nd Father I celebrated on Sunday was, the Father of my children. He is my whole world! My best friend. He is someone i look to everyday and think...i am so lucky to be married to you. He is so kind, so thoughtful, so willing to make me happy, so dedicated to creating the perfect life for me and our kids. He is someone I just adore.


AND of course one of THE most important thing is.... he is someone to help me with my quilts!! How many times do we lay out our blocks on the floor and ask.....mmmm..... Does that look right to you? What do you think of the colours? Do you like this fabric?? Do you think I should add sashing? He helps with the design, my photos and draws my diagrams for my patterns. He fixed my 1st Castle sketch...with his knowledge of old school Architecture and told me the correct alignment of Turrets and Battlements!


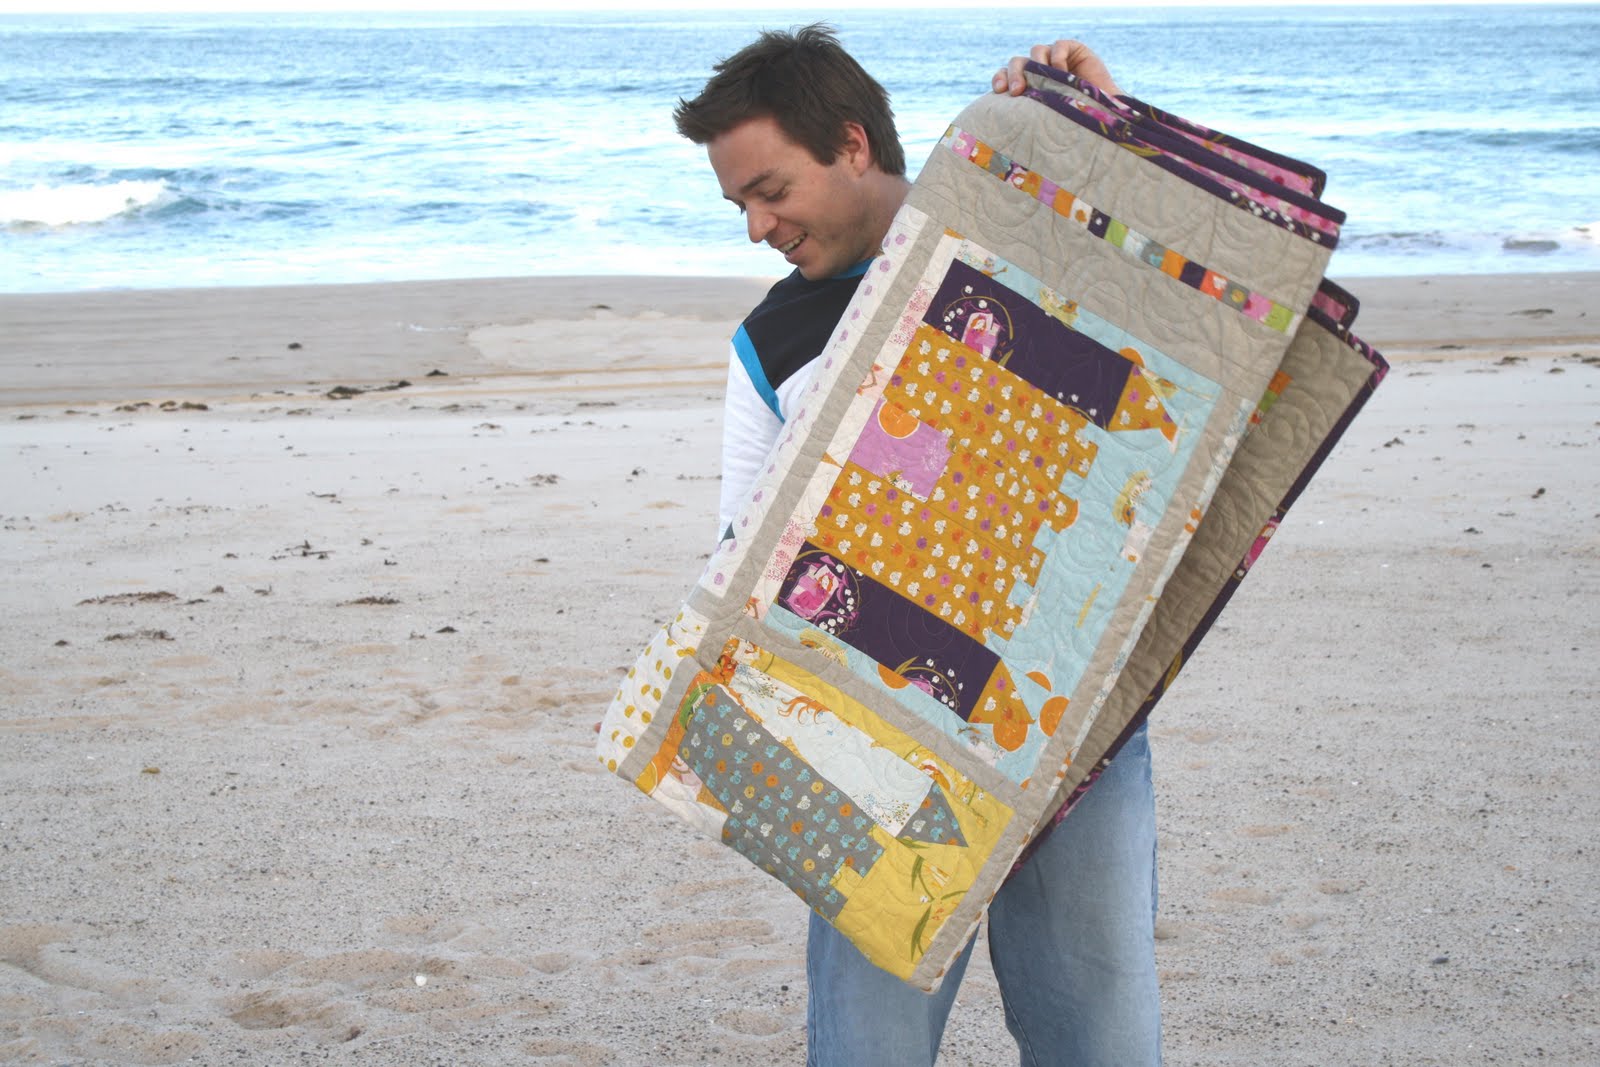
So yesterday we headed to the beach to take some pics of this quilt finally finished!!! 
Some behind the scenes shots from yesterday!! 


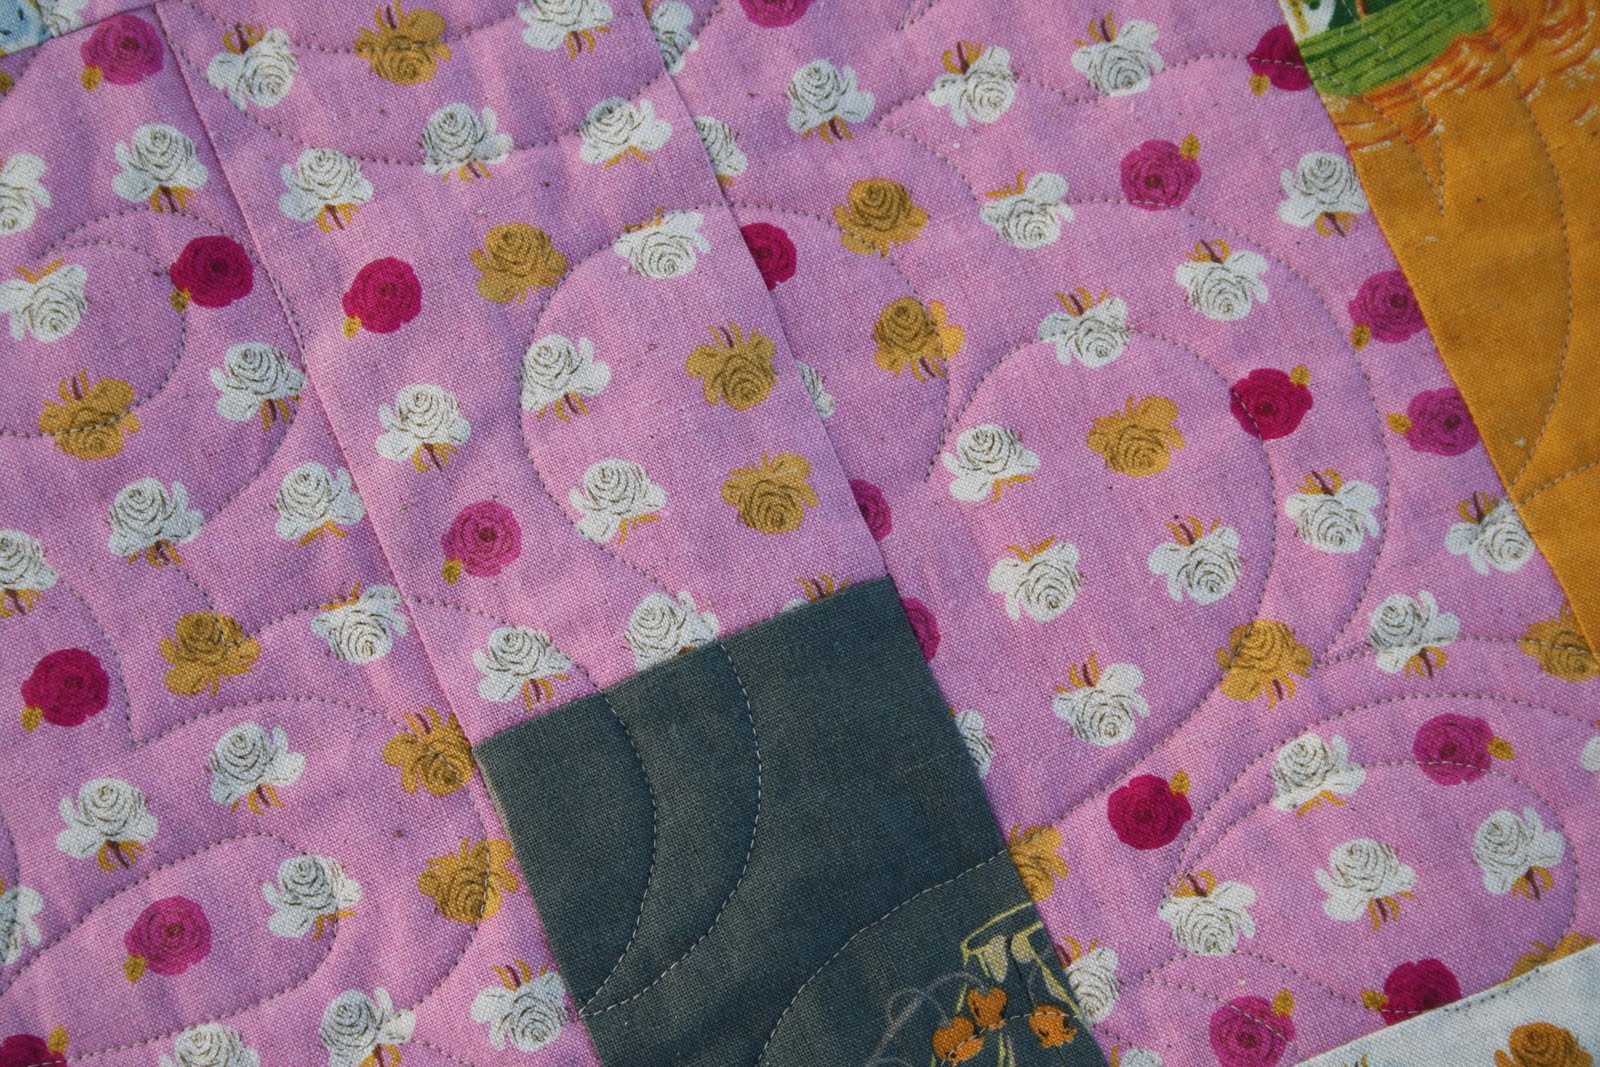
This quilt is for my little Indi and she is in love with Fairy tales and Castles. Her only gripe... is it isn't pink enough! So i had to go with the pink roses back... and purple sleeping beauty binding!


The things we do for LOVE!!! xxx

LinkWithin

Related Posts Plugin for WordPress, Blogger...